In this tutorial, Ivan Krushkov walks us through how to use Maya’s mia_roundcorners shader to add a bevelled look to the edges of your model at render-time! Let’s take a look…
Step 1
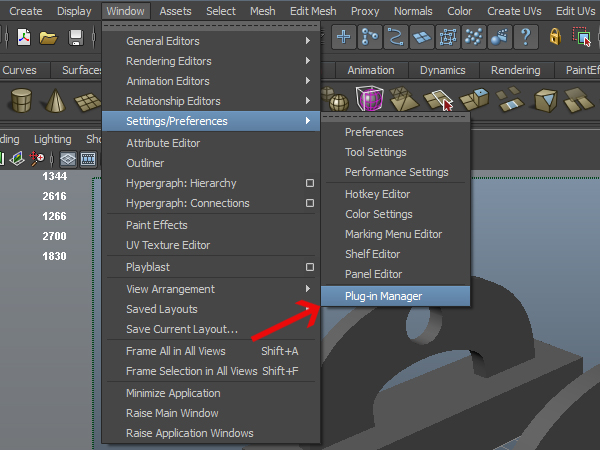
To start off, first we need to make shure that Mental Ray renderer is enabled inside of Maya because mia_roundcorners is Mental Ray texture. If youre using the scene file from this tutorial it will already be enabled for you, but if you are using your own scene make sure to turn it on by going to Window -> Settings/Preferences -> Plug-in Manager
Step 2
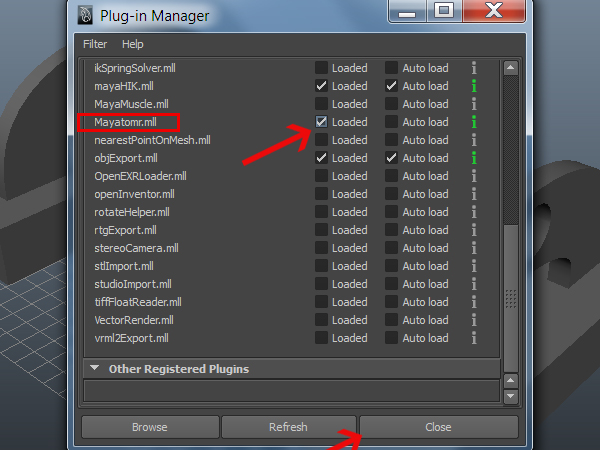
Then scroll until you see Mayatomr.mll and check Loaded and then close the window
Step 3
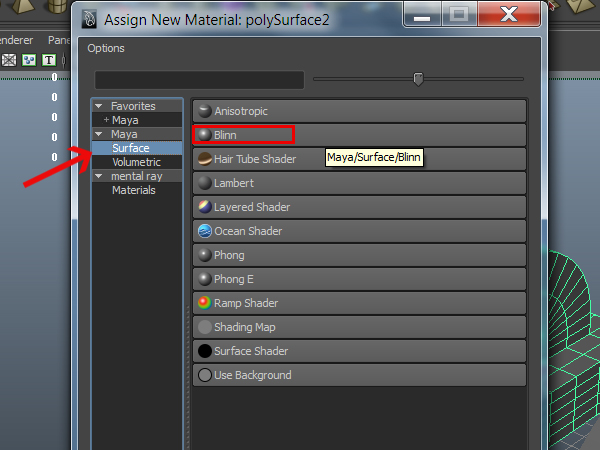
Now select the second object and hold right click on it and select Assign New Material

Step 4
Under the Maya section select Surface and then at the right select the Blinn material
Step 5
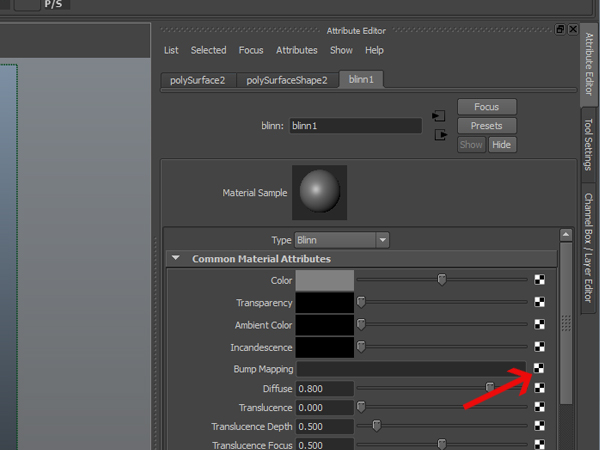
In the Attributes Editor of the material select the checkered button next to Bump Mapping
Step 6
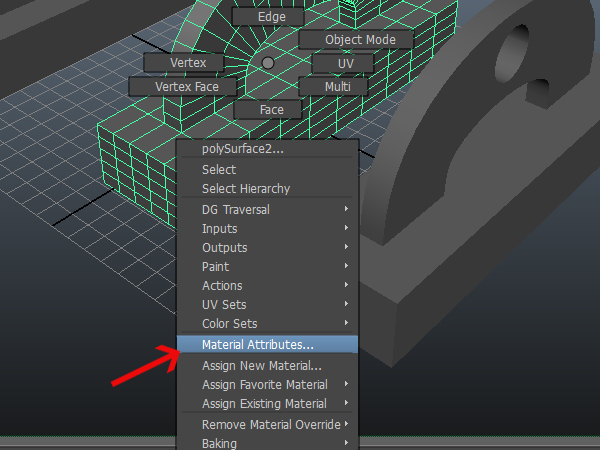
If for some reason you cant access the attributes for the material you can again right click and hold on the object and select Material Attributes
Step 7
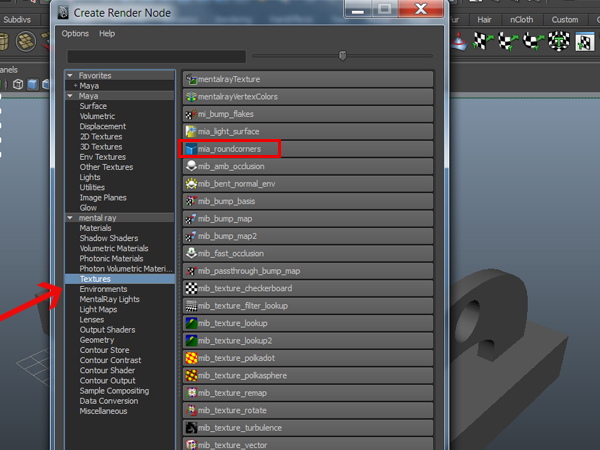
After clicking on the Bump Mapping button, in the window that comes up, under the mental ray section of shaders select the mia_roundcorners. This will place this texture shader in the bump slot of your material
Step 8
In the attributes for the mia_roundcorner you can start tweaking the Radius attribute which will determine how much the corners of your objects will be smoothed. And if you wish to add bump map to your material without removing the mia_roundcorner, inside the node you can place the bump inside the Bump slot of the mia_roundcorner
Step 9
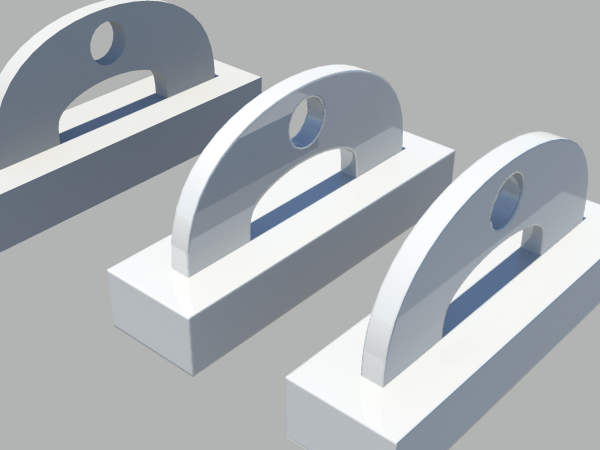
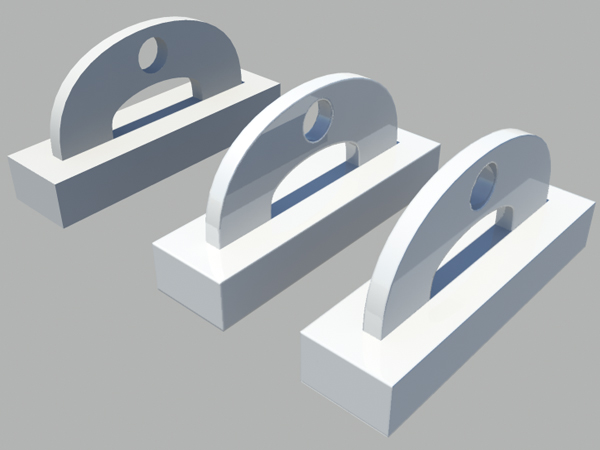
If you now took a render of the scene you can see how the middle object has all of its sharp edges rounded in contrast to the left one
Step 10
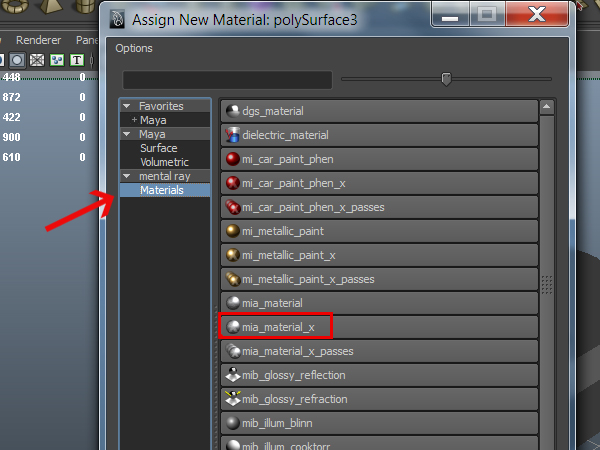
The workflow to assign a mental ray material with the roundcorner shader is a little bit different than the one with a maya material. Select the third object and again right click and hold and go to Assign New Material

Step 11
In the window that comes up under the mental ray section select the mia_material_x
Step 12
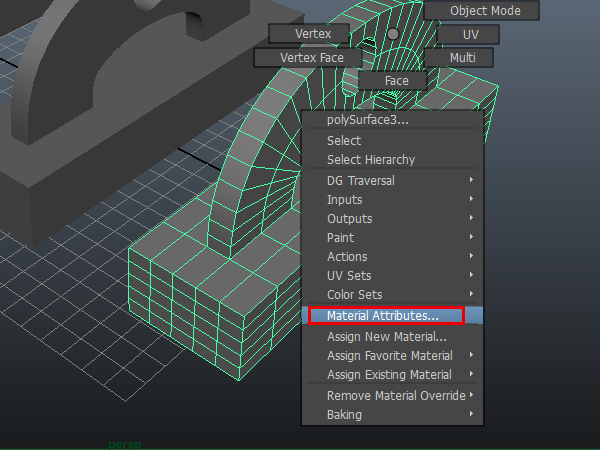
Again if you dont see the materials attributes you can right click on the object and select Material Attributes
Step 13
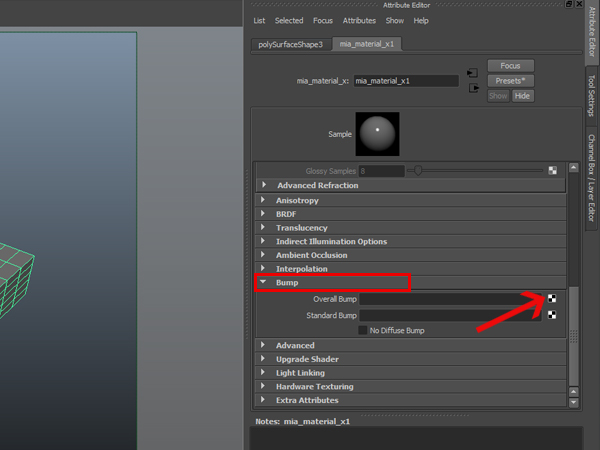
Under the attributes for the material scroll down to the Bump section and expand it. Then click on the checkered button next to Overall Bump
Step 14
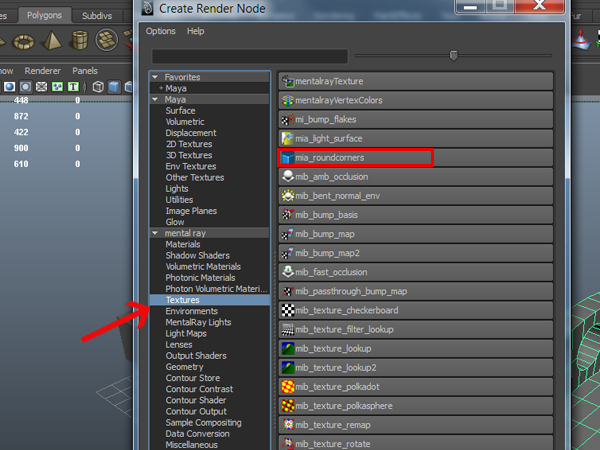
Again in the window that comes up, under the mental ray section of shaders select the mia_roundcorners
Step 15
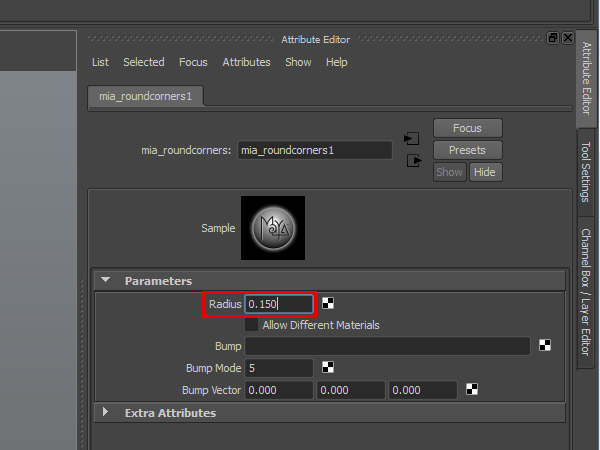
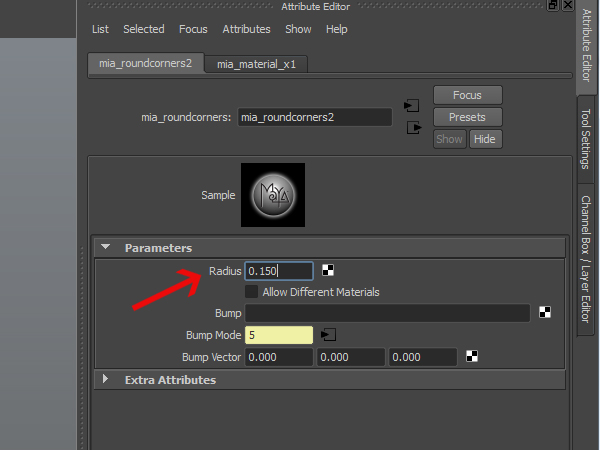
Now again we can tweak the radius to select the roundness of our edges. Lets put 0.150
Step 16
If you want now you can place additional bump map in the Bump slot of the mia_roundcorners or in you material Standard Bump

Step 17
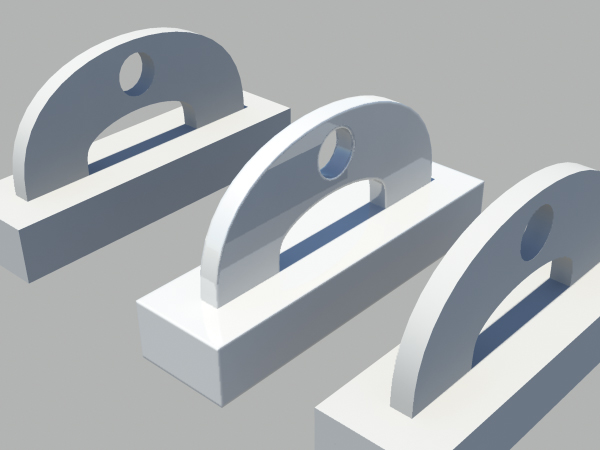
Heres the final result you can see the right most object is now with rounded edges and you can compare it against the one without the mia_roundcorners shader applied to it